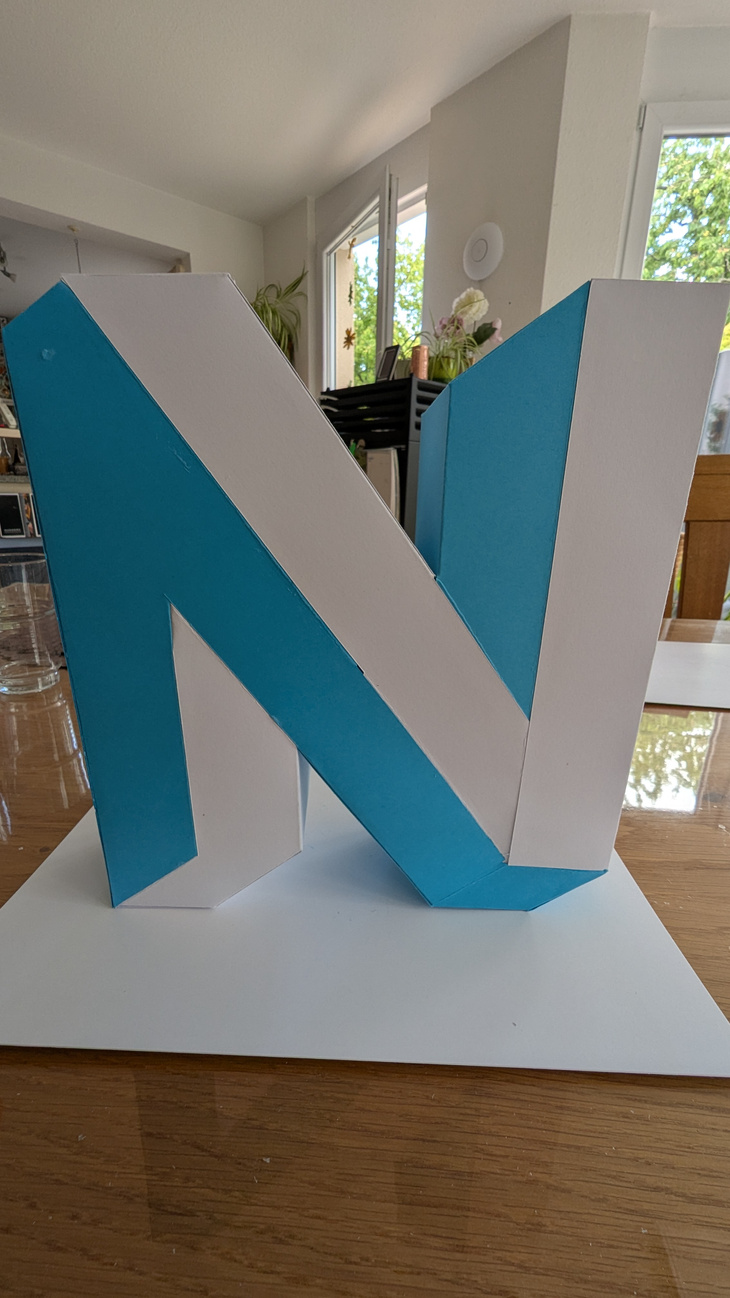
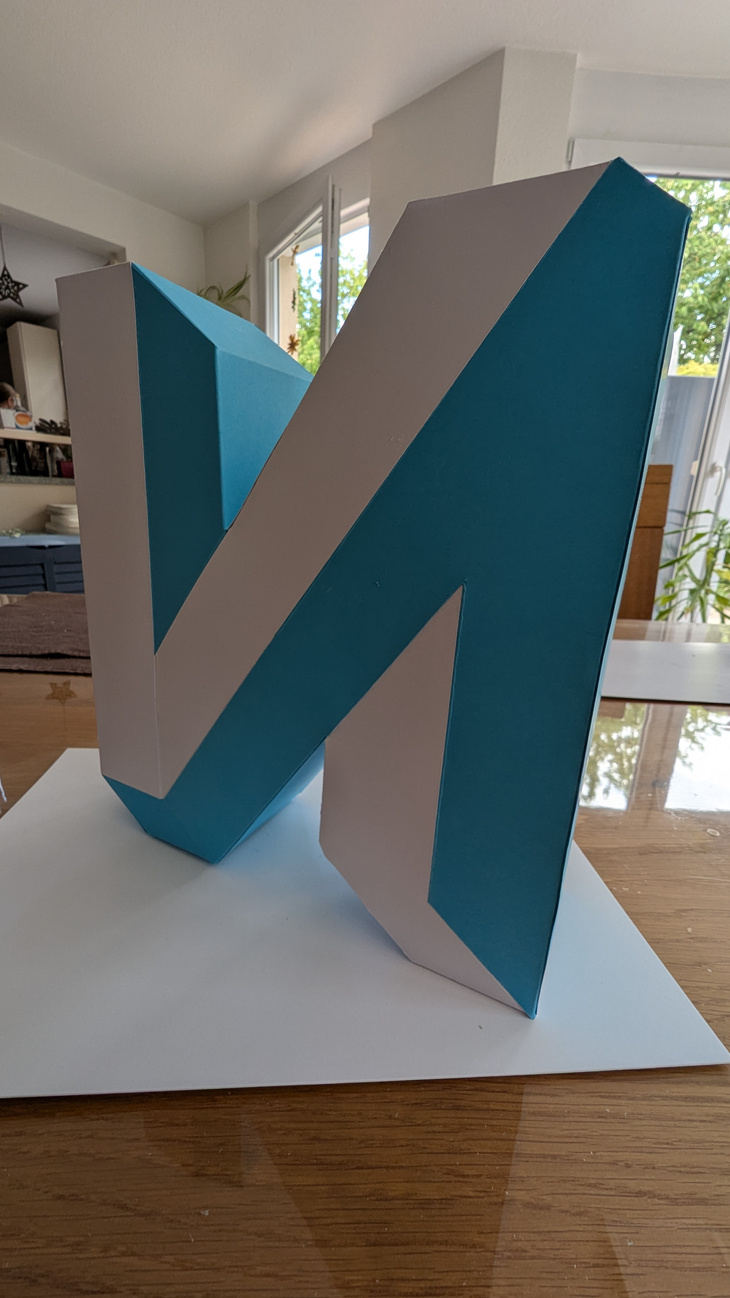
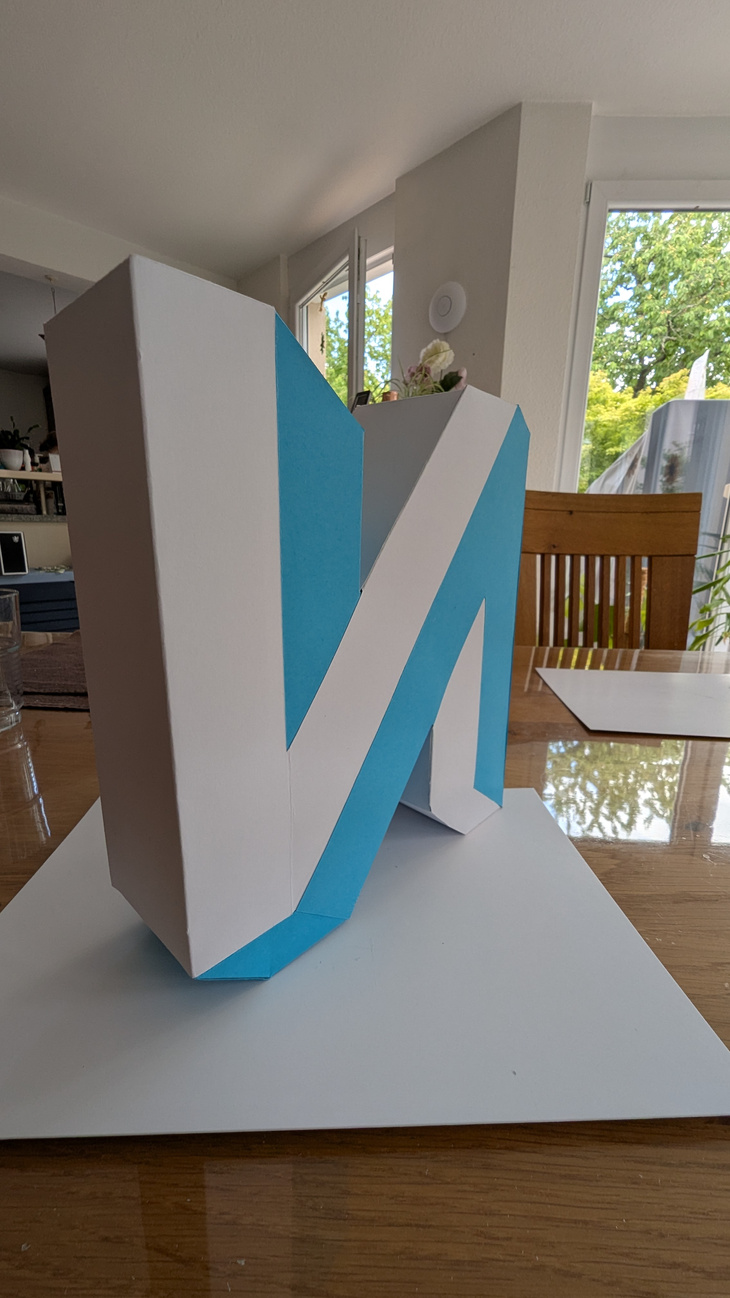
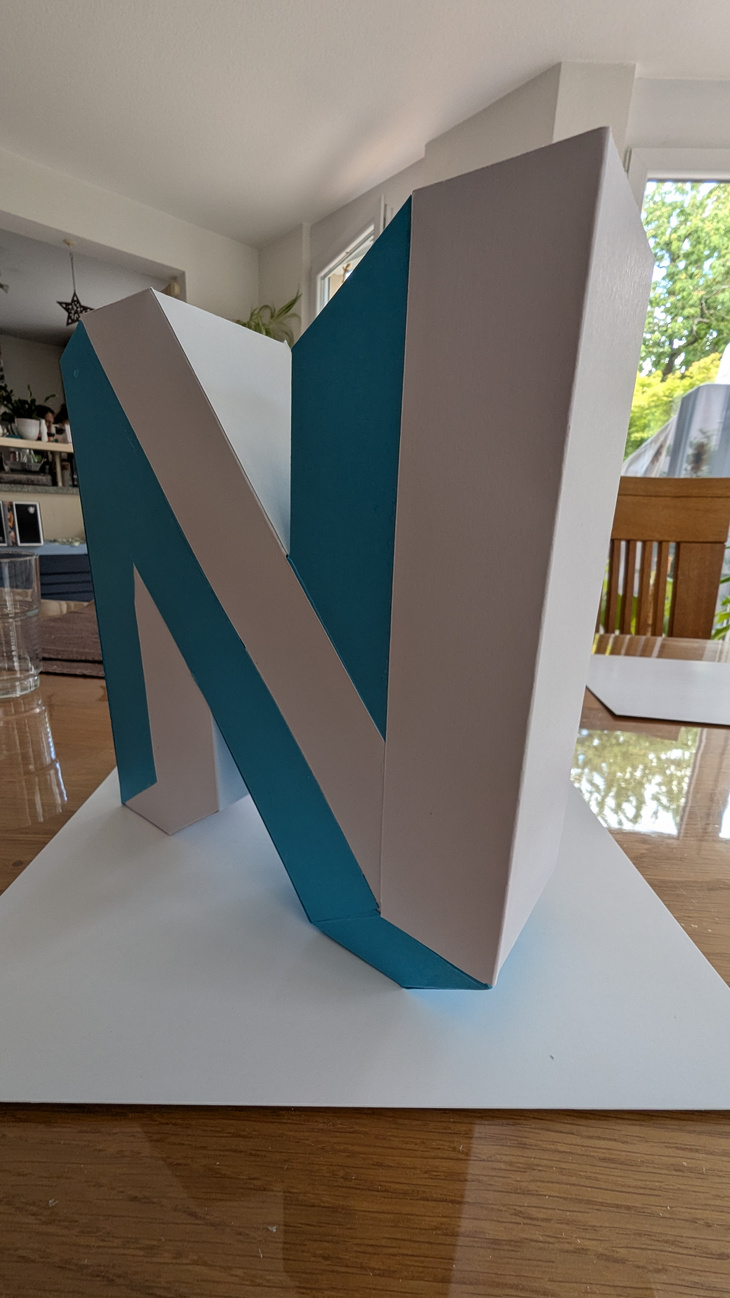
NEOS Logo crafting
Hi, this is the instruction we especially made for assembling the NEOS Logo. We tested it carefully a couple of times, and hope it works for you as well. Please read this intro at least once, as we noticed everyone makes at least one important error, when crafting the Logo the first time.
What you need to get the logo crafted
- About one hour of time. Maybe a little more the first time. But you can stop any time, if you follow this instruction.
- Glue (paper glue preferred). We recommend water soluble adhesives for easier cleaning afterwards.
- A small pencil or something else you can put the glue on. We used the remaining paper from the blue A1 to put some glue on. That worked quite well.
- A pair of scissors. If everything works perfect, it is not needed, but we found out, that you could fix some problems by just cutting them off (not recommended, but a solution).
The assembly instructions
The basic idea is that you just glue the flaps you see on the small numbers together with the correct other numbers that are always printed on the individual pieces. Sometimes you have to glue white and blue together, sometimes white–to–white and blue–to–blue. Sometimes you have to put the glue on the side of the flap where the number is printed on, sometimes not! Trust us: It works. Many people assumed there are numbers missing, but they are there!
There is no need the press the glued sides together with pressure. You get the best results, if you let the glue dry a little, and than stick the sides together, so they glue together fast. Also use the .......... (dottet line) and .-.-.-.-.-.-.-.-.-. (dash-dot-dash) lines for lining up accordingly.
What you absolutely should avoid
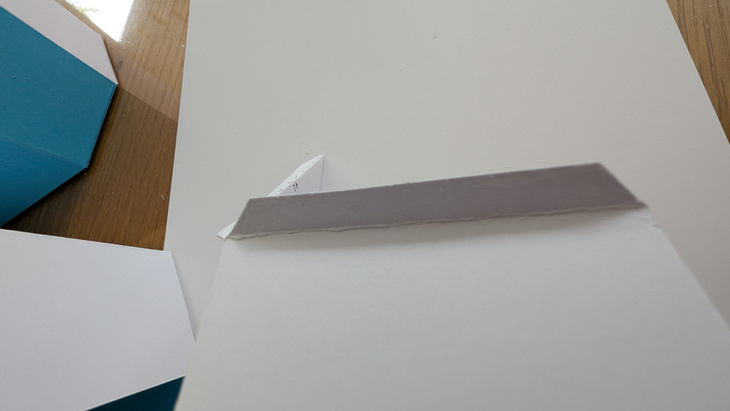
All flaps go inside the NEOS Logo, so you do not see them. Definitely avoid what all testers did the first time. Do not glue what you see in these pictures; the arrows point to the positions that are WRONG!!
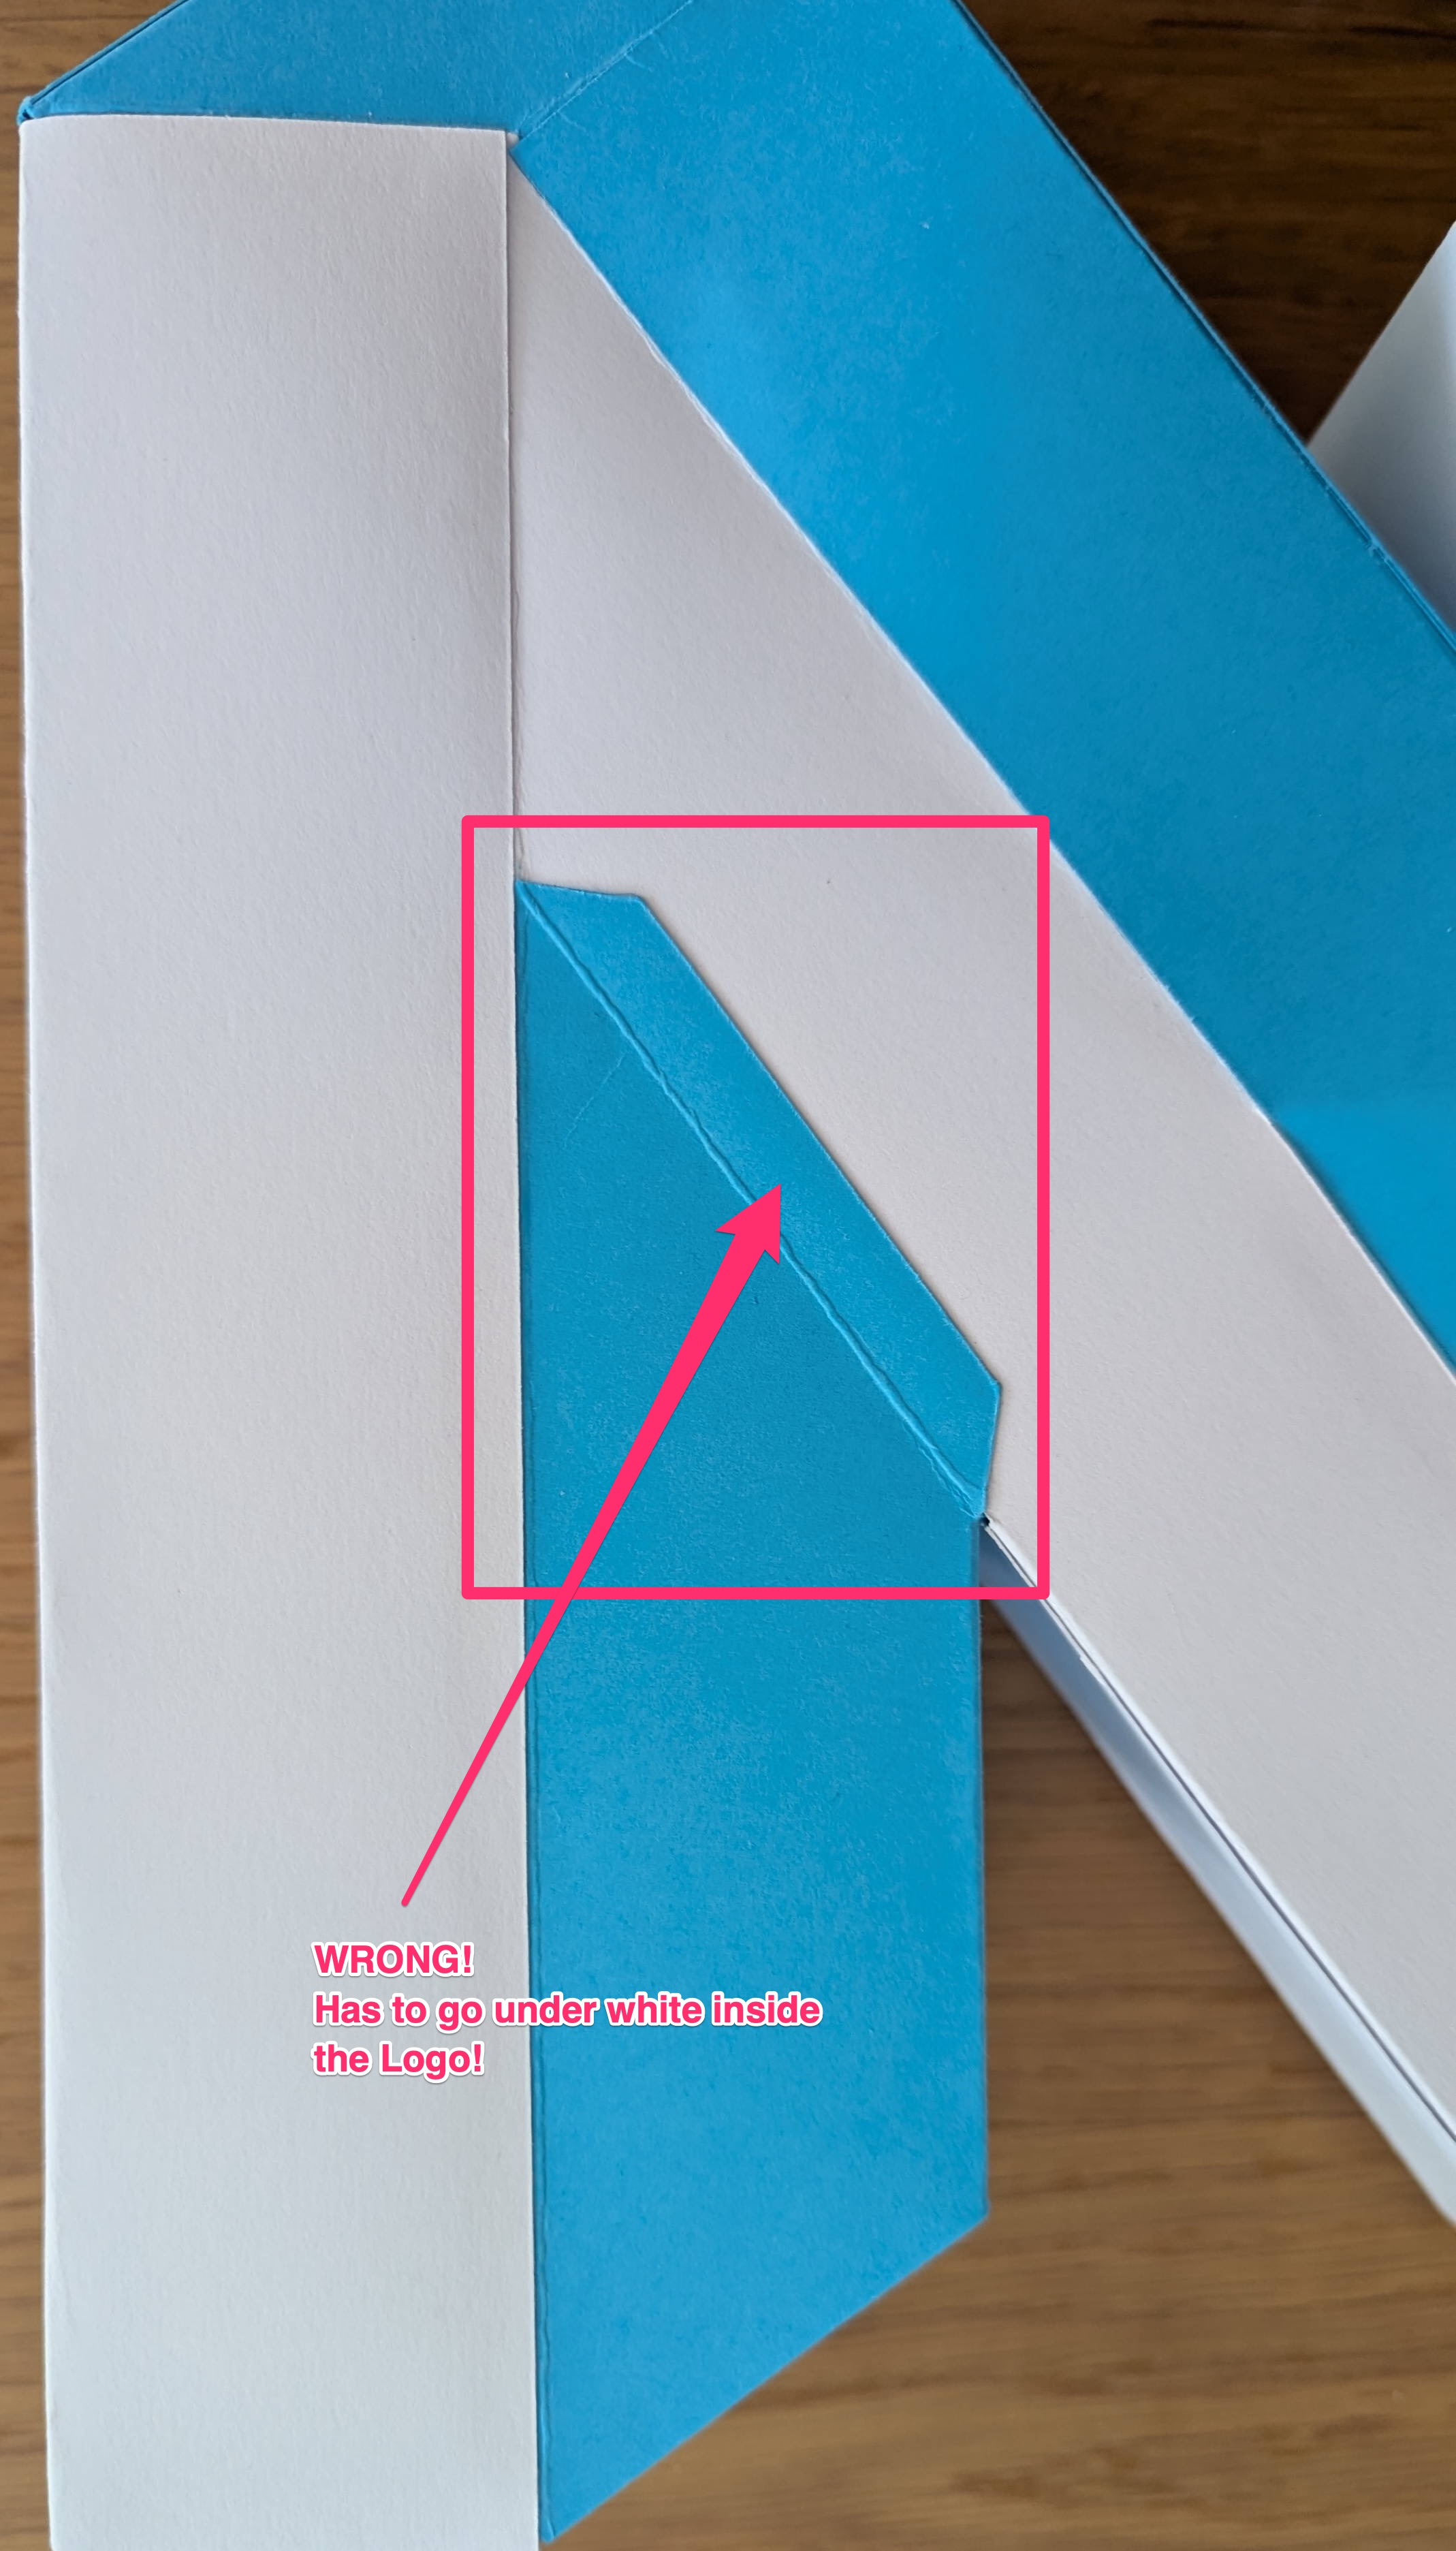
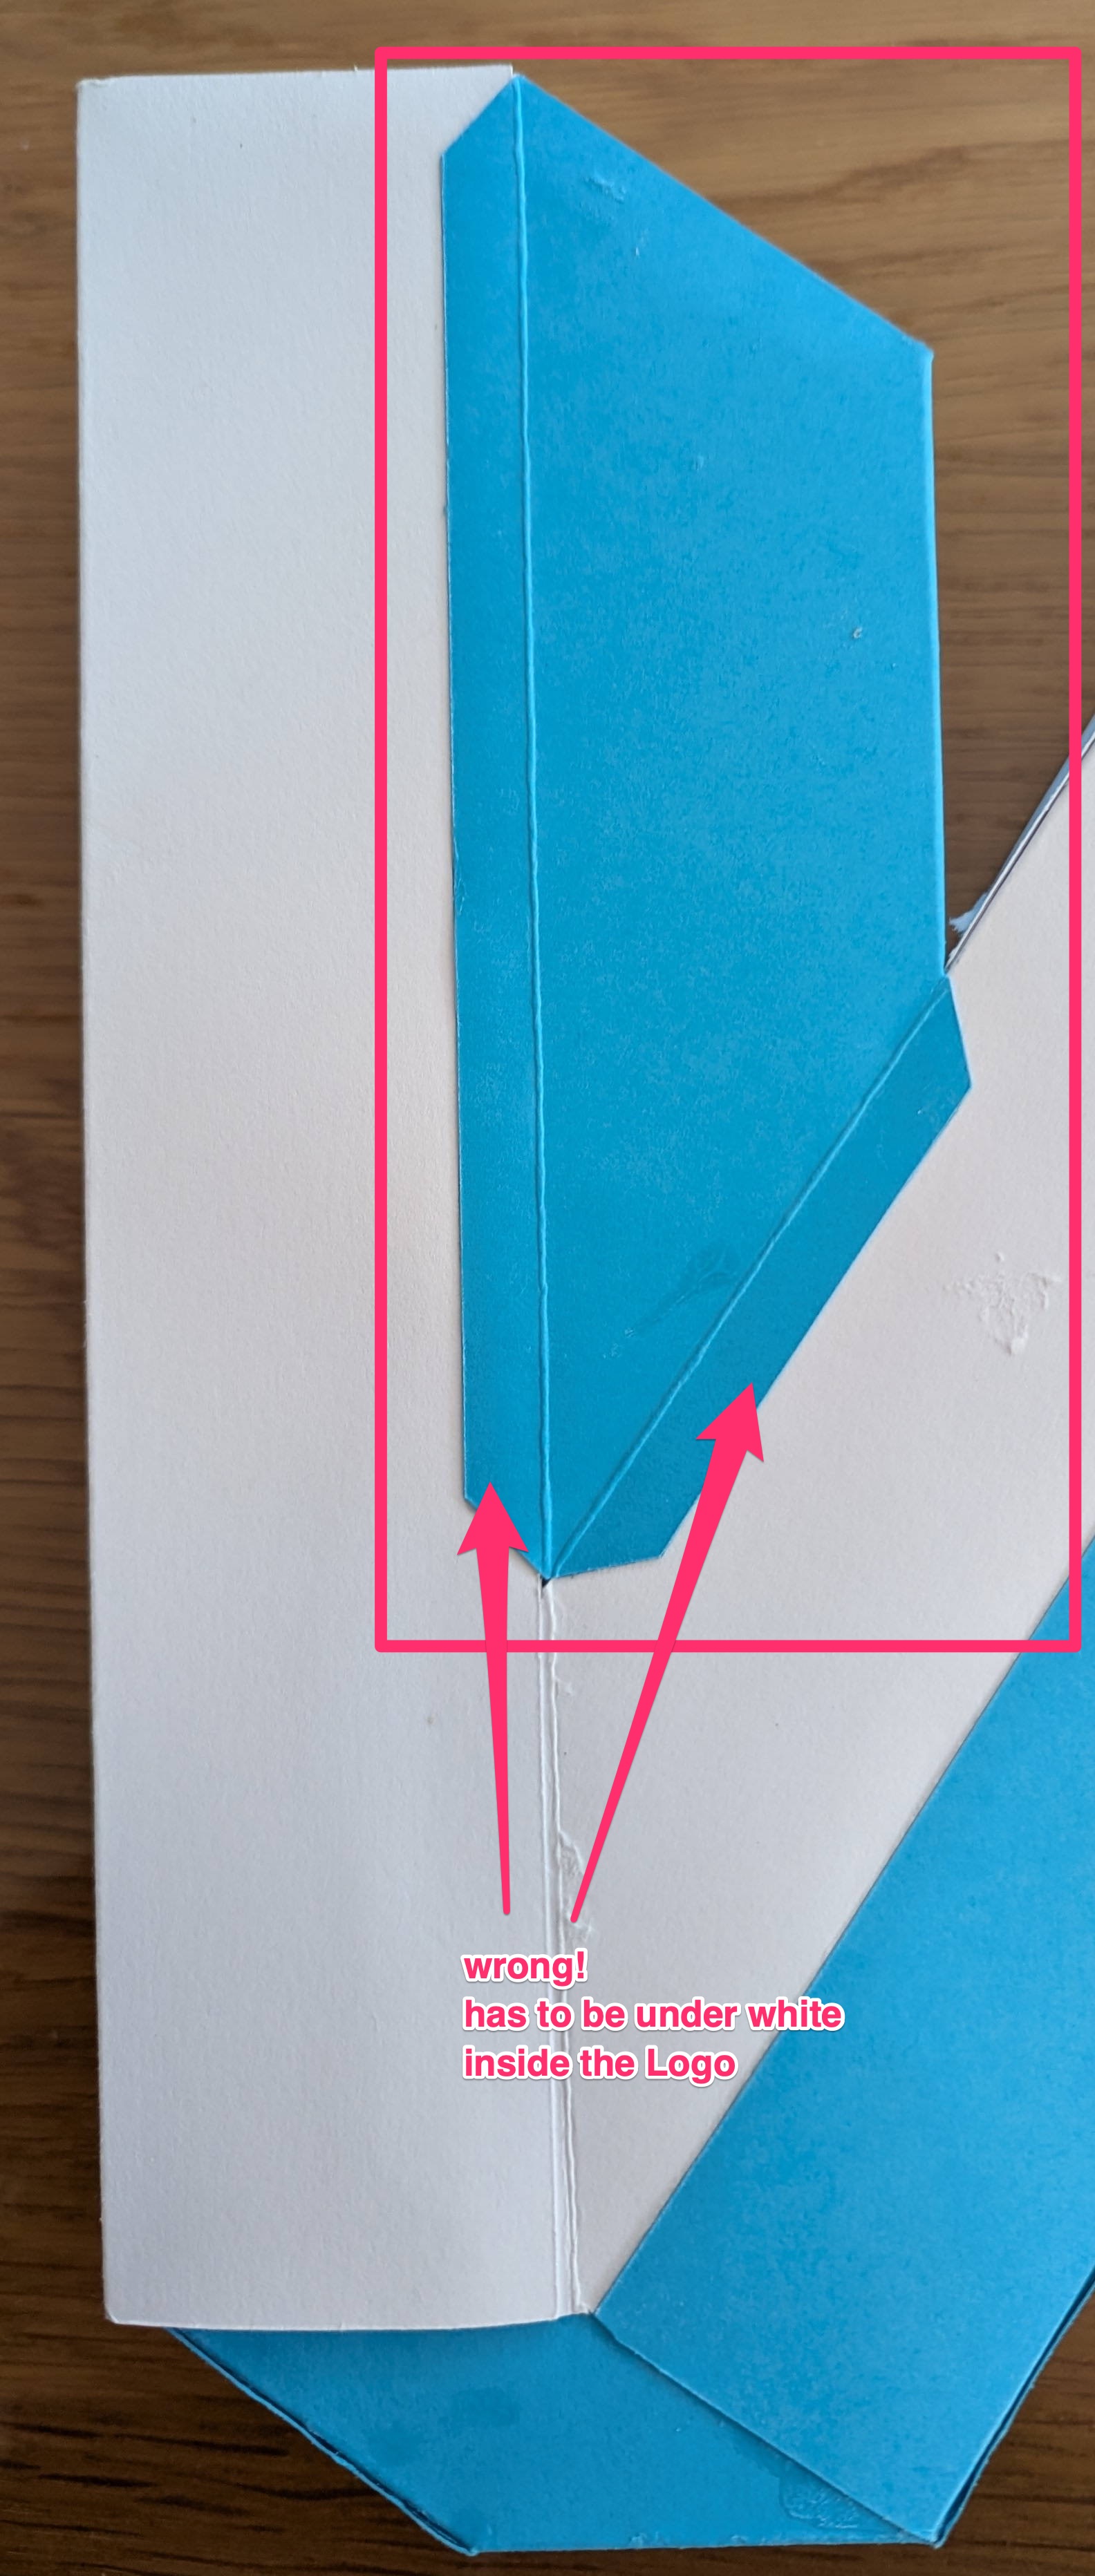
Just keep in mind, that all flaps are INSIDE the Neos Logo, when you are done, and that you never ever see any printing outside of the Neos Logo. Best is to check before glueing, how it will work. Above is my favourite crafting error. I did it a couple of times, so definitely check this specific part!
before you start
Carefully break out all individual pieces from the prints. You should have A1–A5, B1–B4, C1+C2. Some of them are in blue, some in white.
pre–bend the pieces at the dotted and dash– dotted lines
- ........... (dotted line) Bend at the dotted line carefully as if you wanted to cover one of the letters A, B, C.
- -.-.-.-.-.-.-.-. (dash dottedt) Bend carefully into the opposite direction as above. Be careful with those bends later on. Those might trick you to put glue at the wrong spot as shown in the „What you absolutely should avoid“ section above!
Later on, you will notice, that not all bendings are really needed, but it is saver to have all of them pre–bent before and later have to straighten them.
And now the fun can begin
We found, that this is our favourite order. We have found other solutions, but this works for people that are new. Do NOT! use any shortcuts by glueing numbers together, that are not listed at the step you are working on. It will make it impossible to finish the Logo later on. Keep the order in the following list; maybe best is, that you mark what step you are working on.
Follow these easy steps to get your paper crafted NEOS Logo!
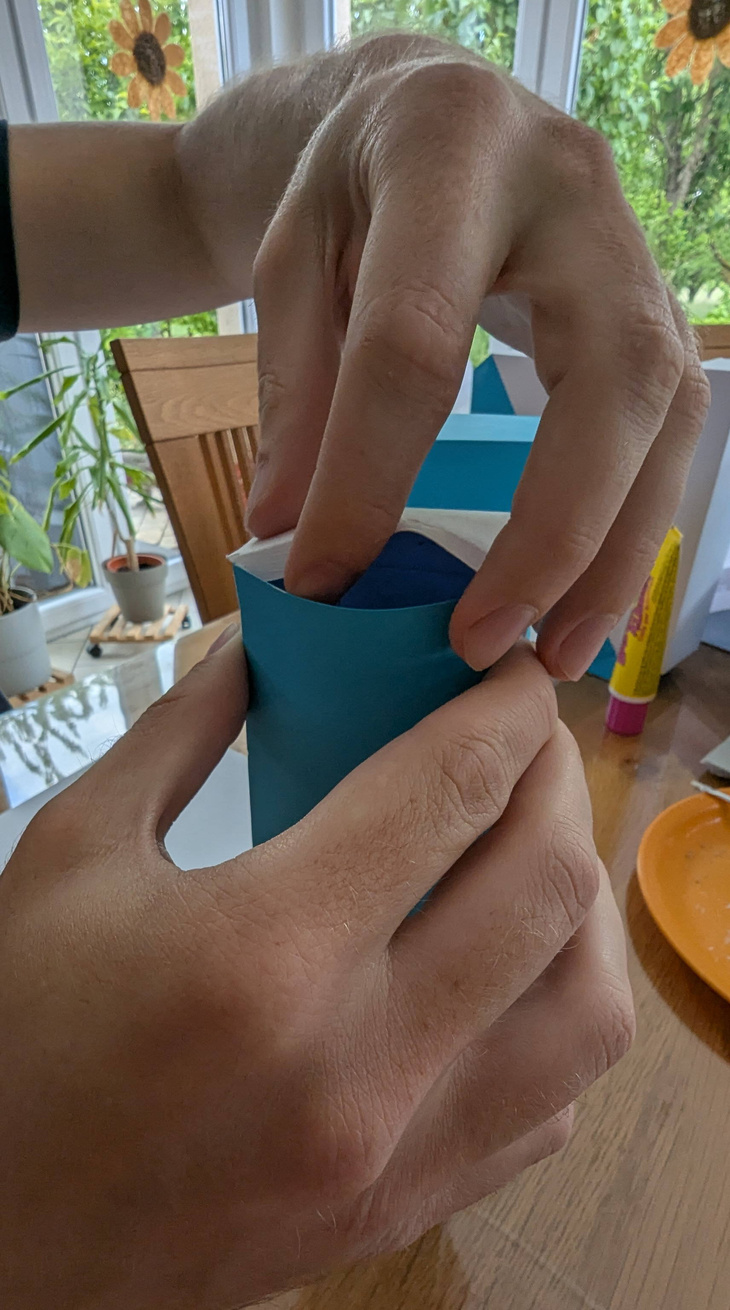
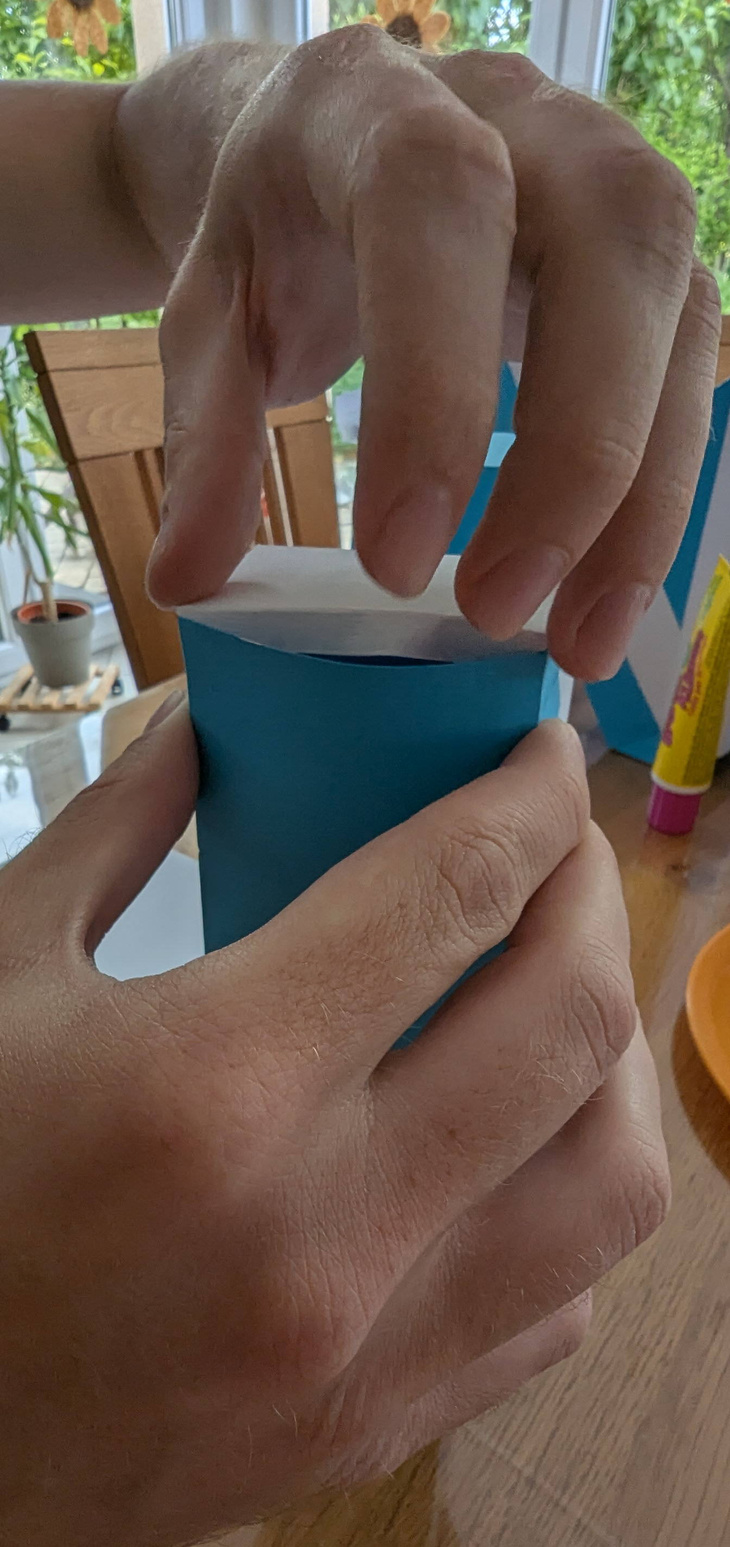
1. A1, A2, B4, C2 glue each separately together according to the numbers within, so the numbers match
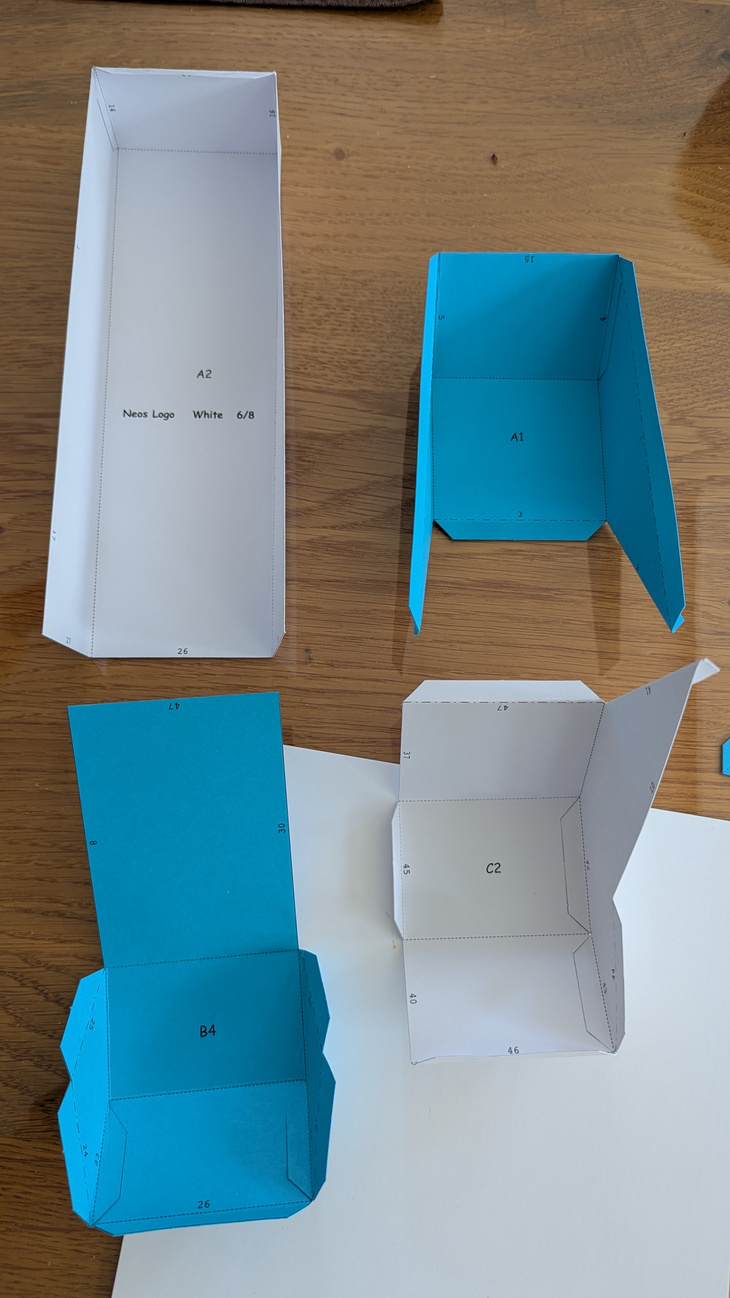
2. A1 to A2 with 15, 7, 1
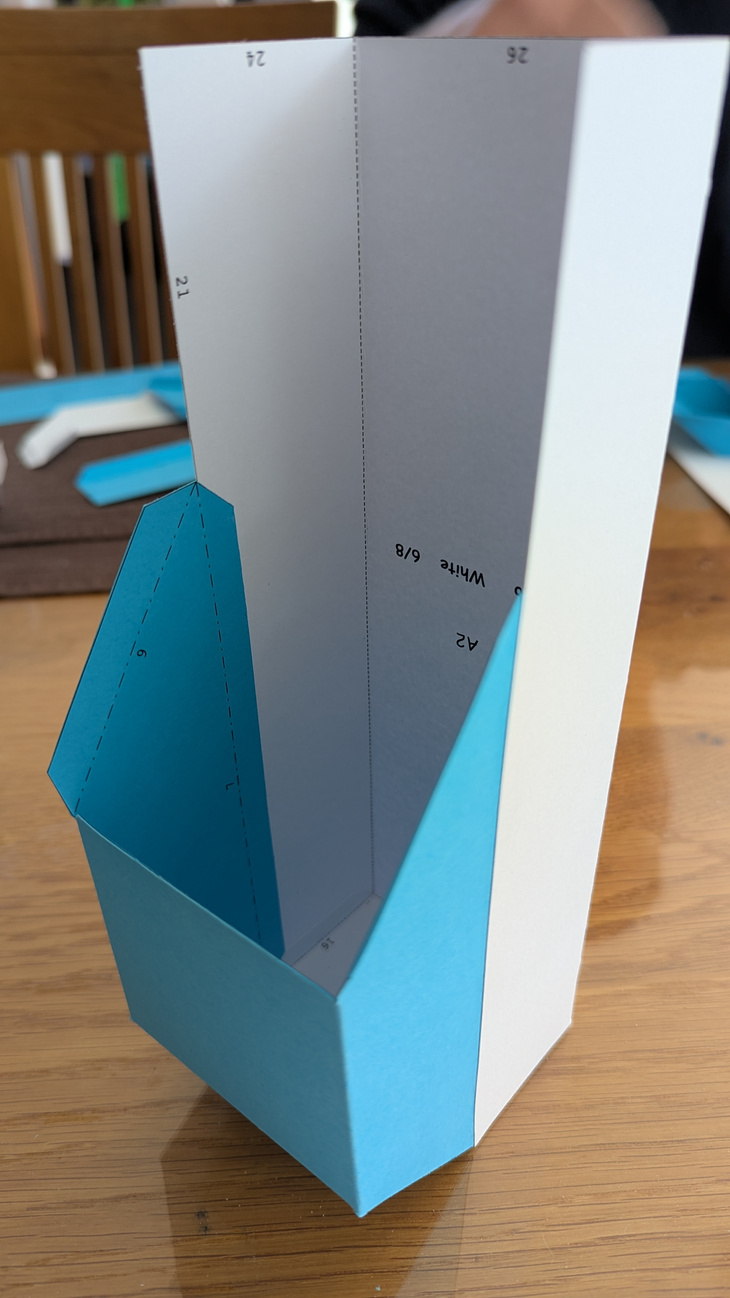
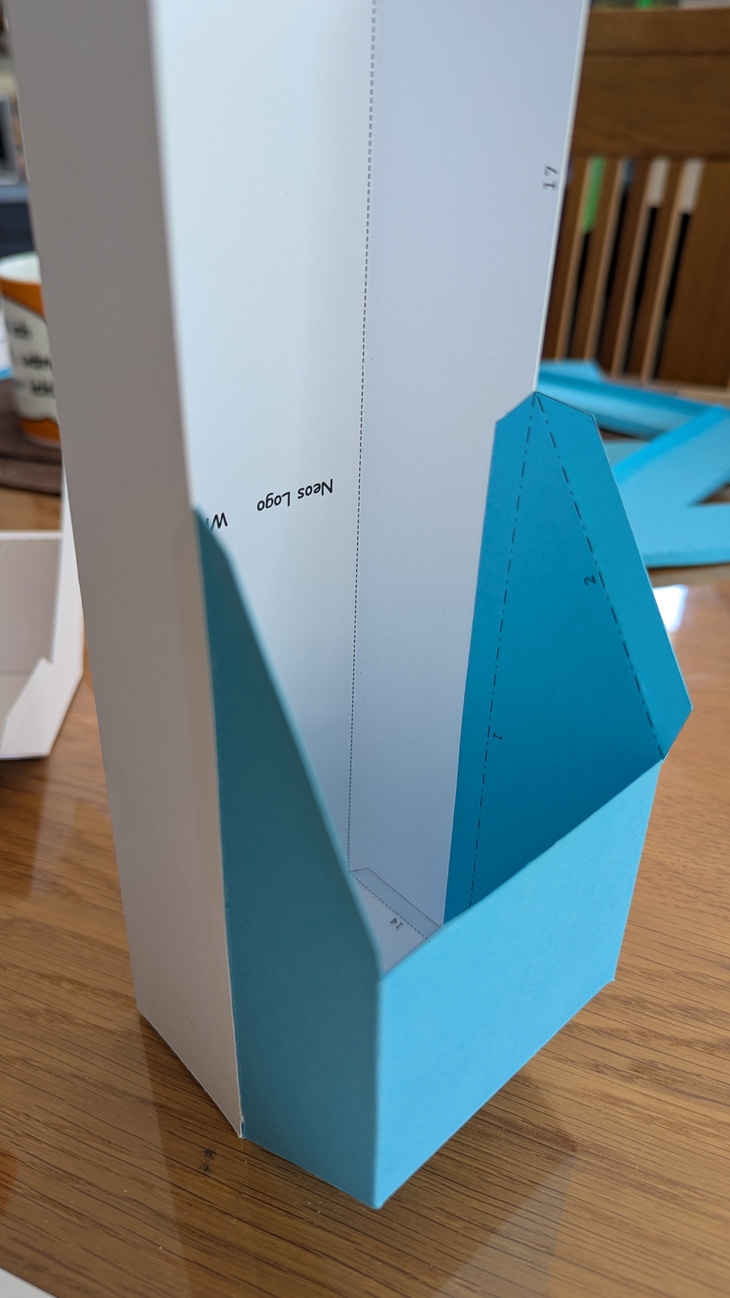
3. A4 to A1 with 3
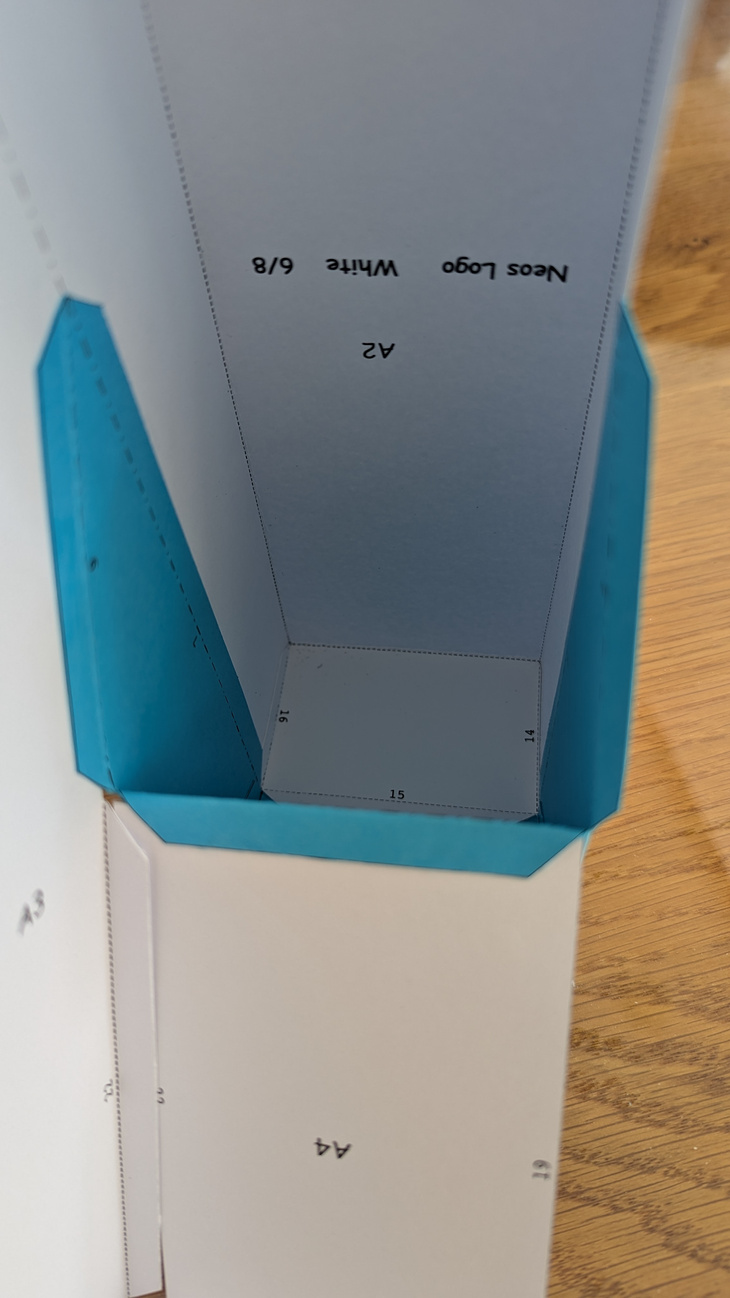
4. A3 to A2 with 21 and then A3 to A1 with 6
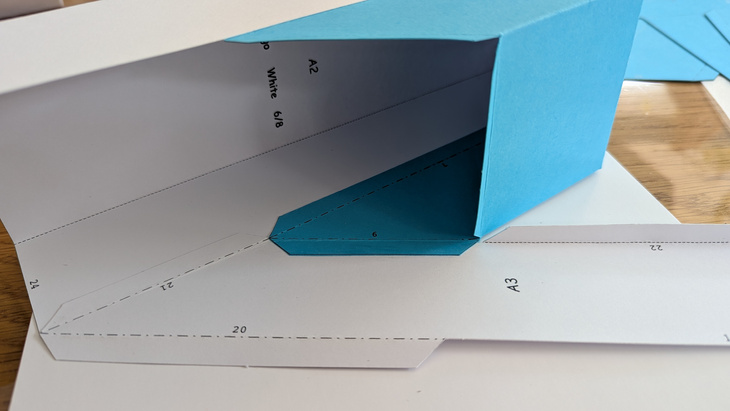
5. A4 to A3 with 22, 12
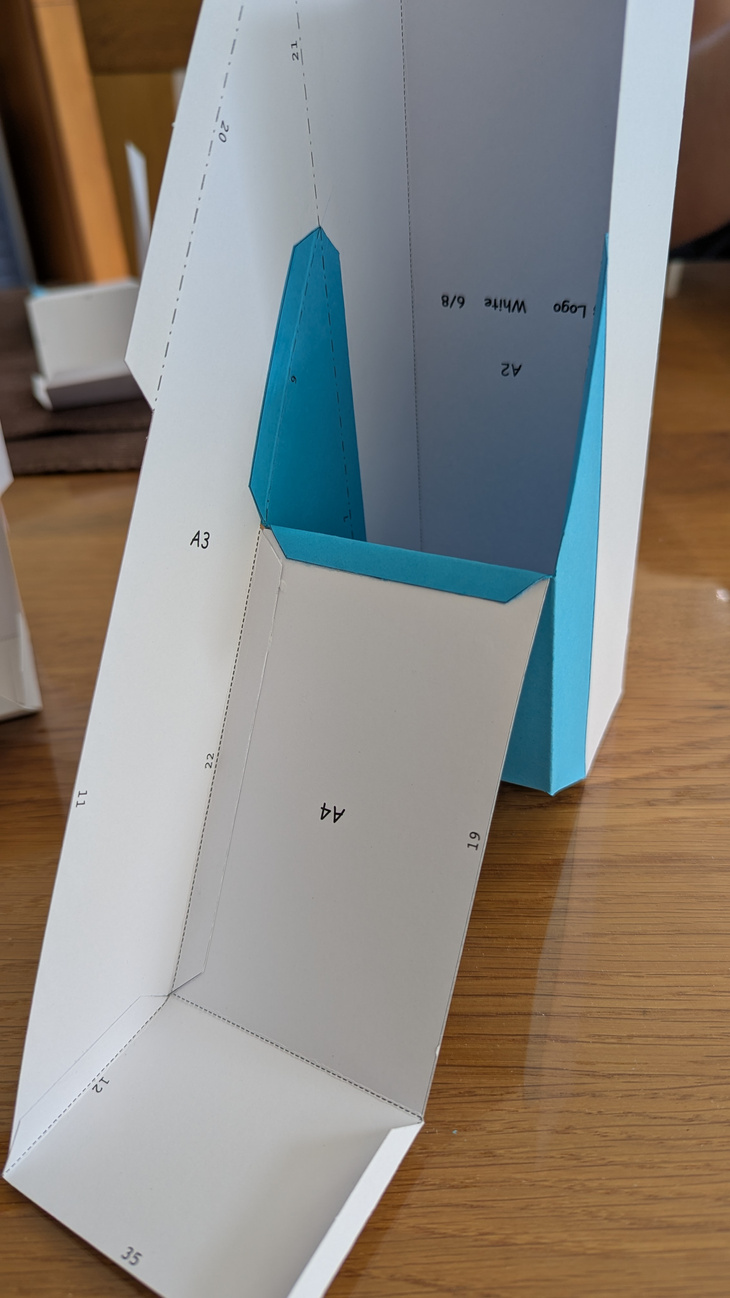
6. A5 to A2 with 17, A5 to A1 with 2, A5 to A4 with 19, 13
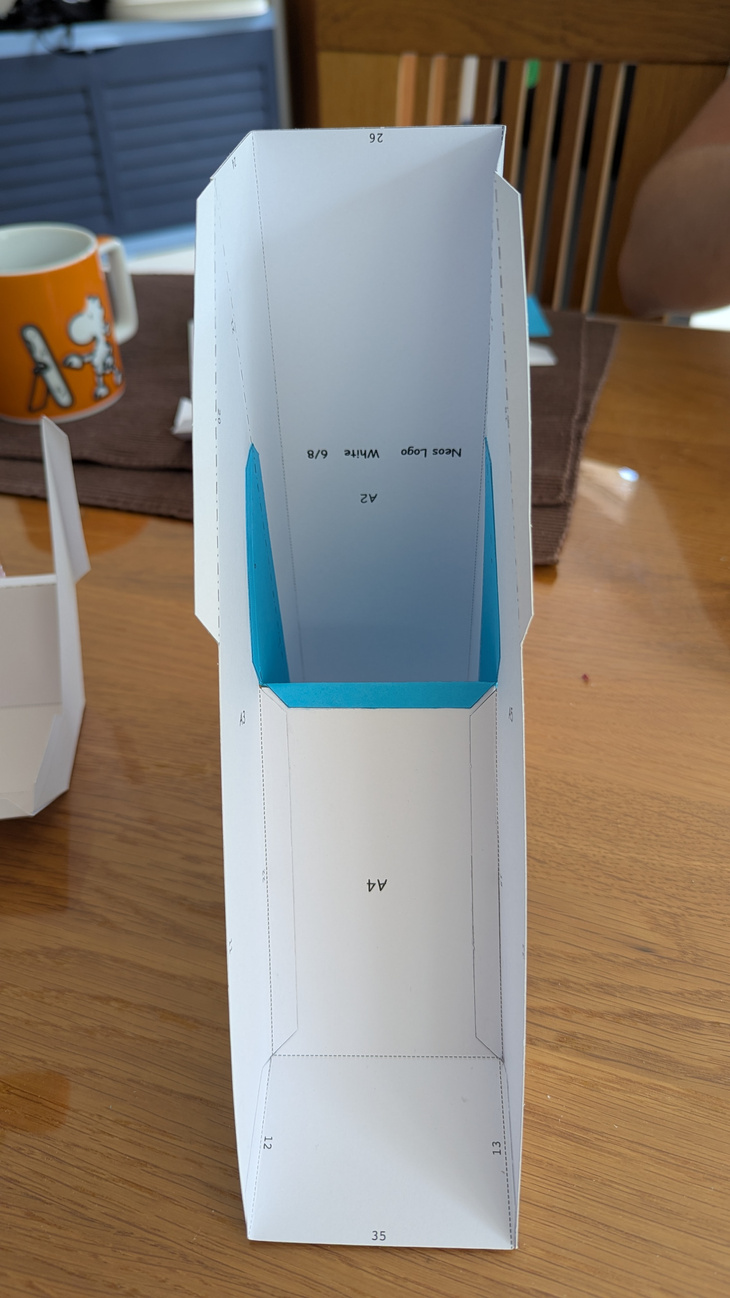
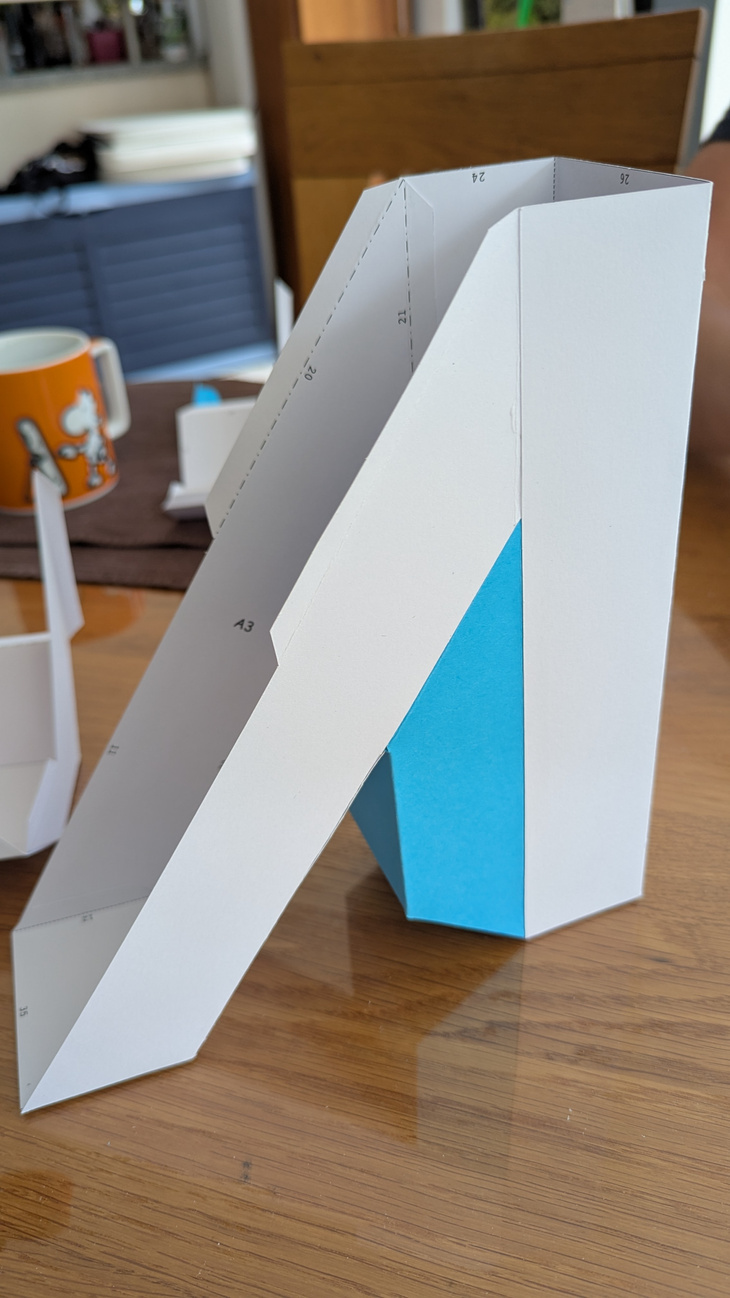
7. B4 to A2 with 26, 24, 27
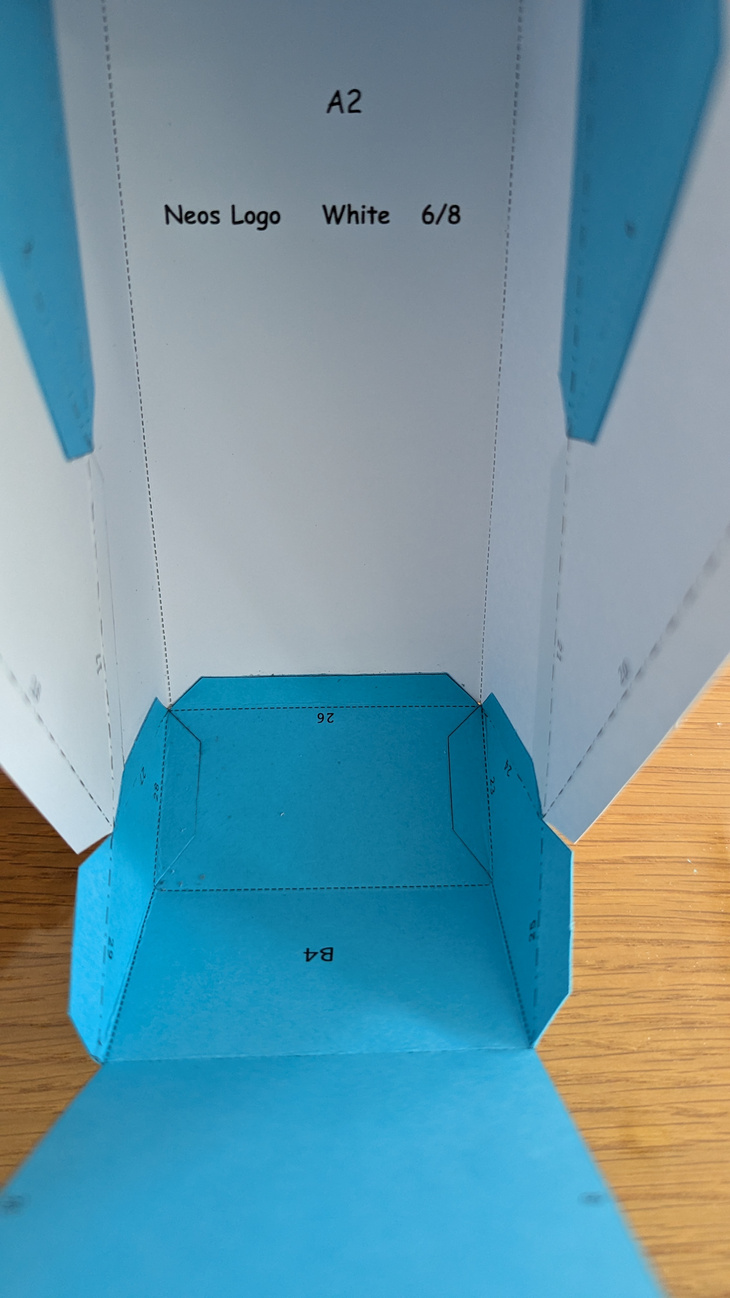
8. B1 to B4 with 30, 29
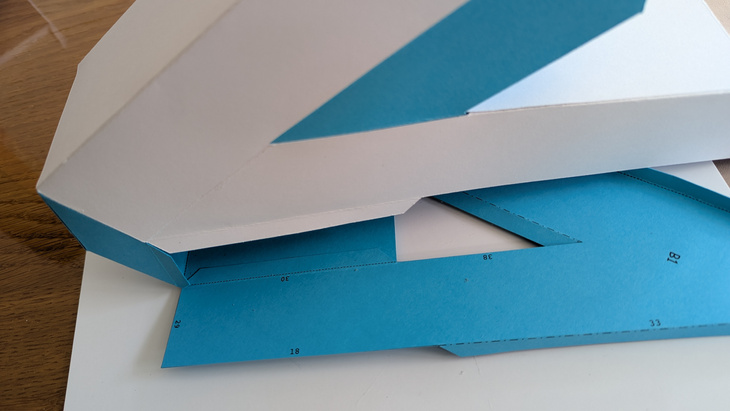
9. B1 to A5 with 18, 33
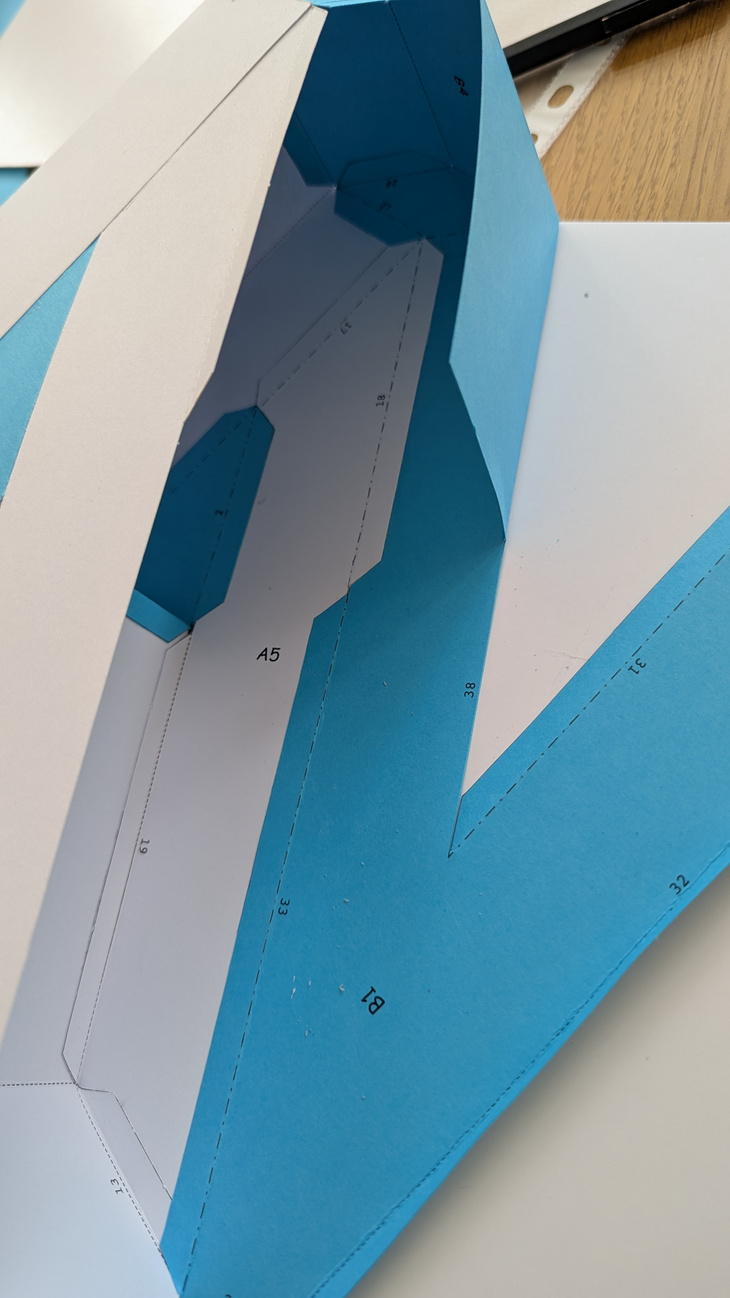
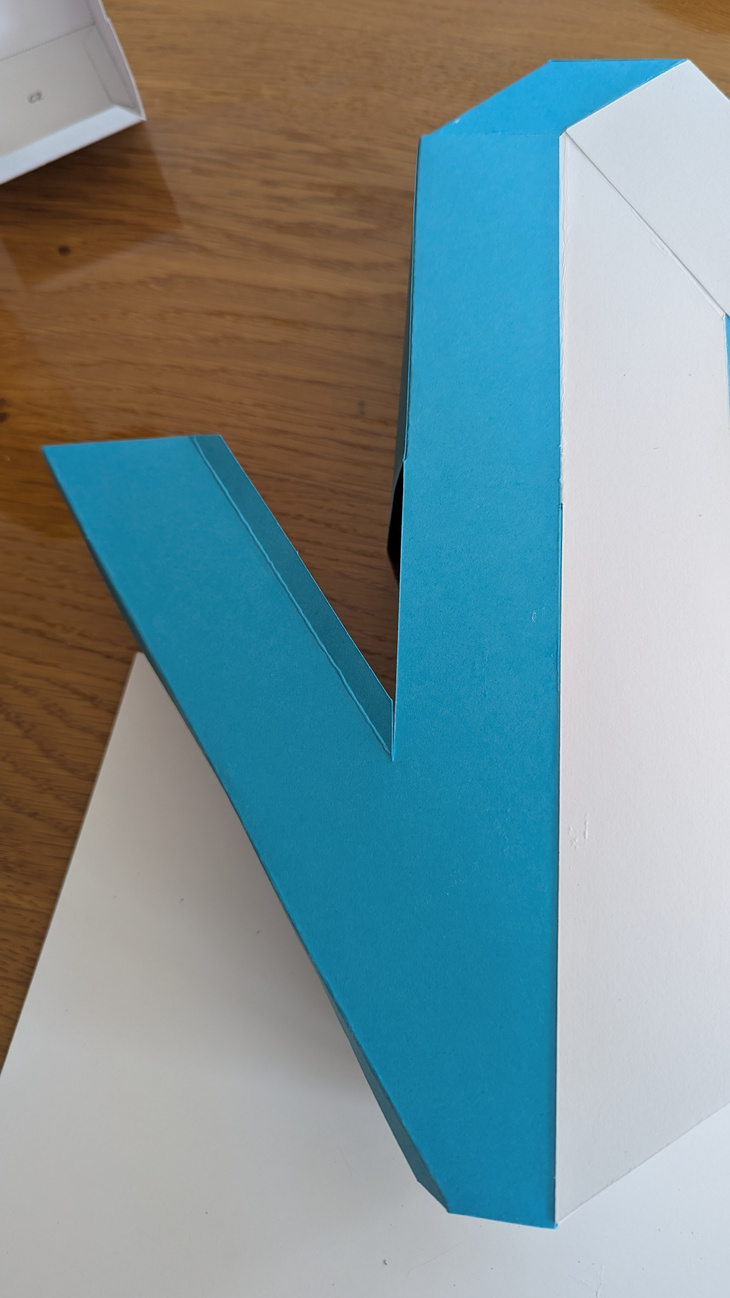
10. B3 to B4 with 8, 25, B3 to A3 with 20, 11
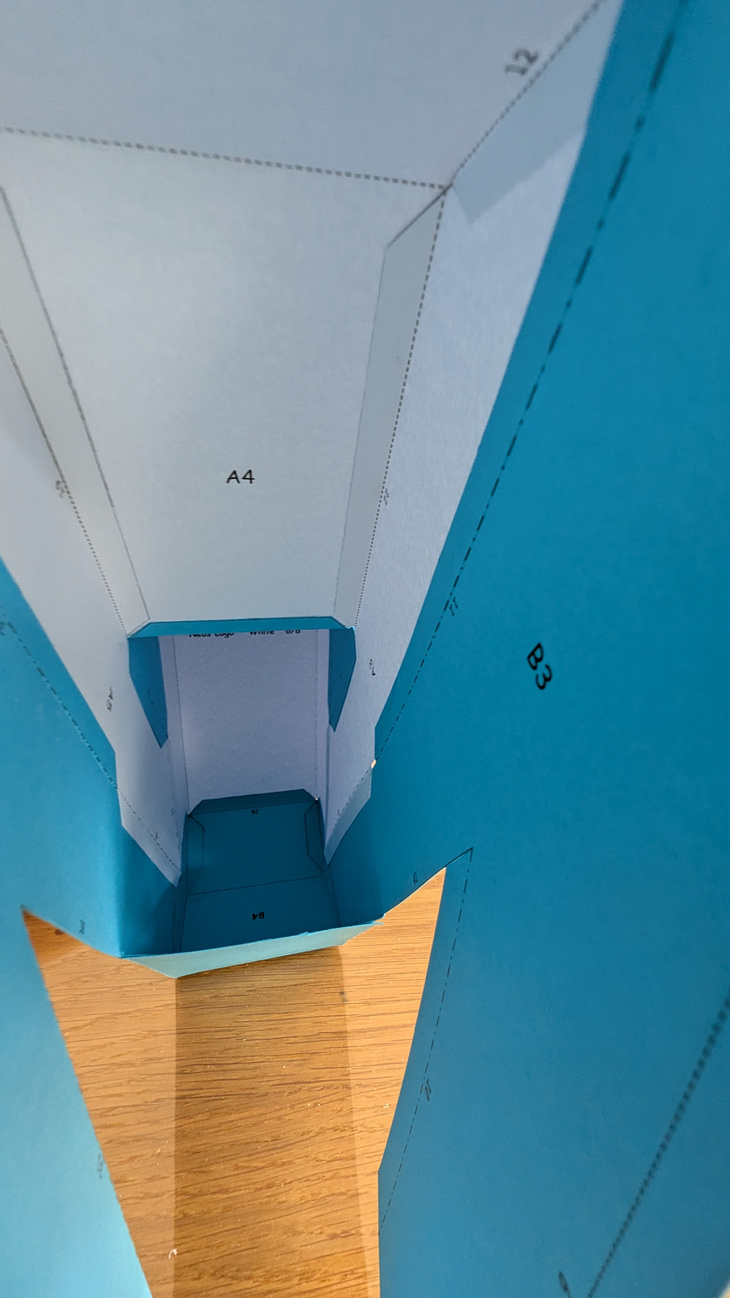
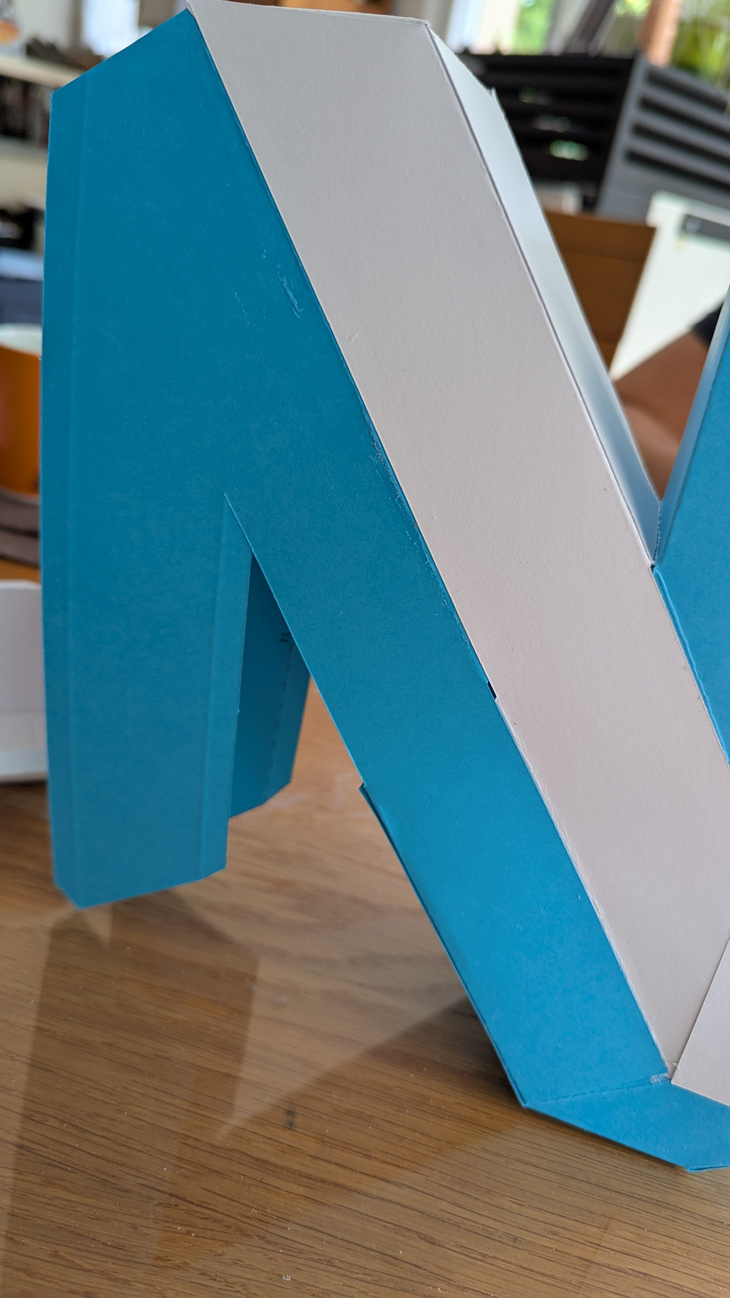
leave B2 alone and continue with
11. C2 to B4 with 47
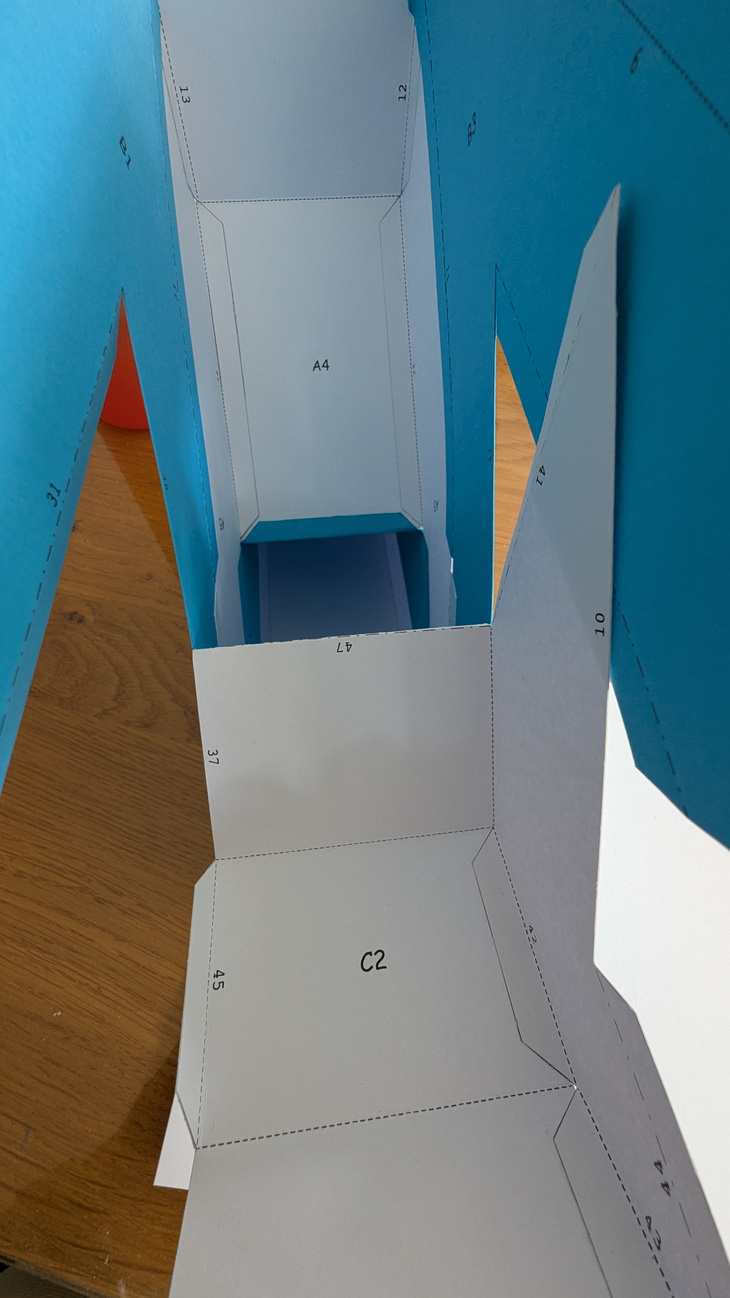
12. C2 to B3 with 41, 10
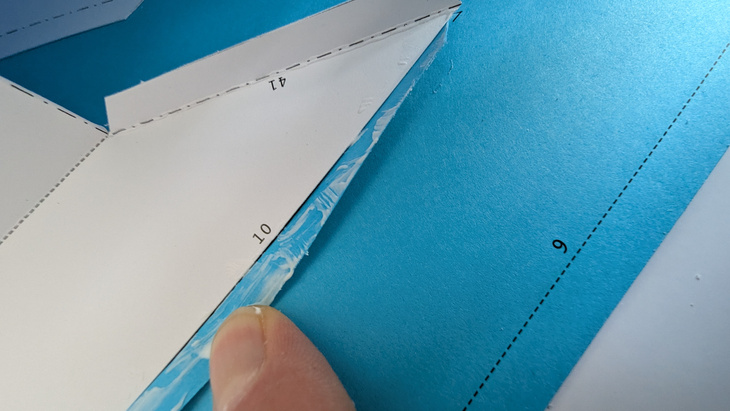
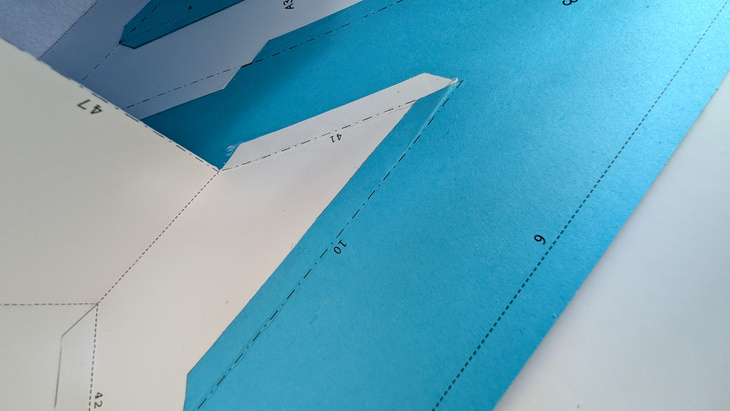
13. C2 to B3 with 44
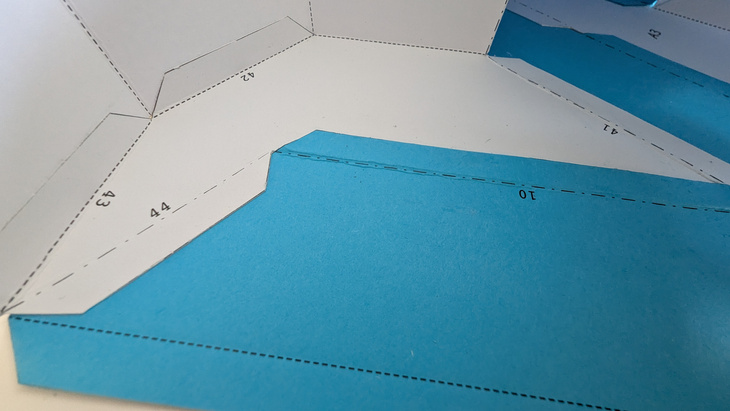
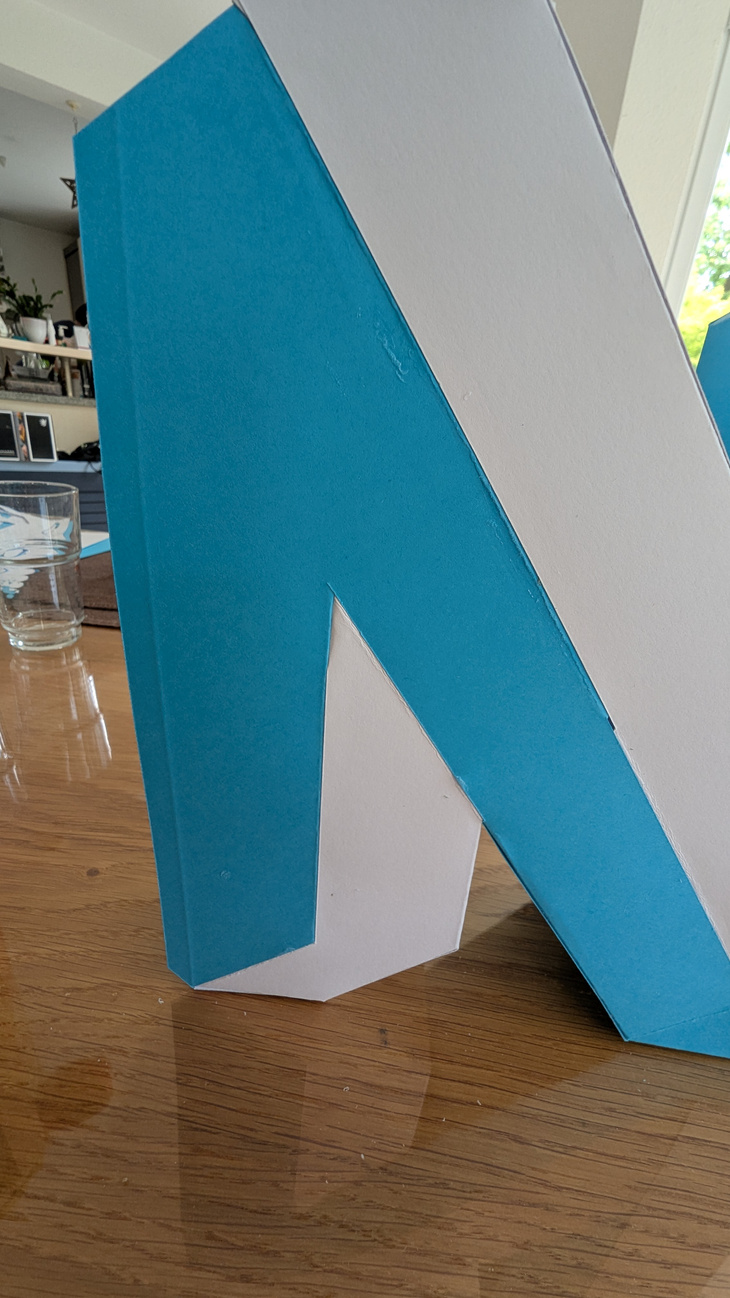
14. C1 to C2 with 40, 45, 37
15. C1 to B1 with 38, 31, 39 Double check, if flaps are inside the Neos Logo!
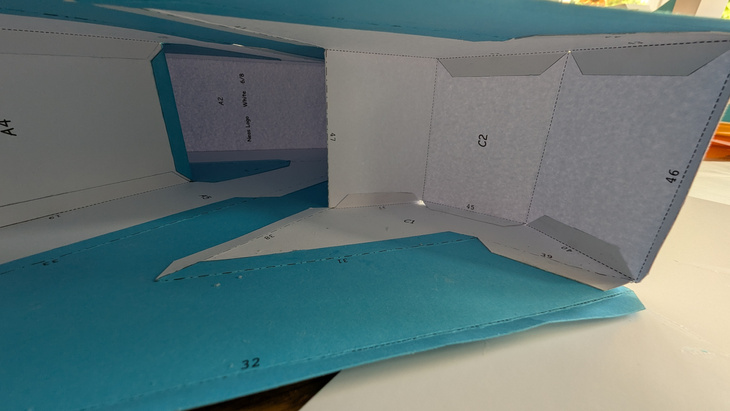
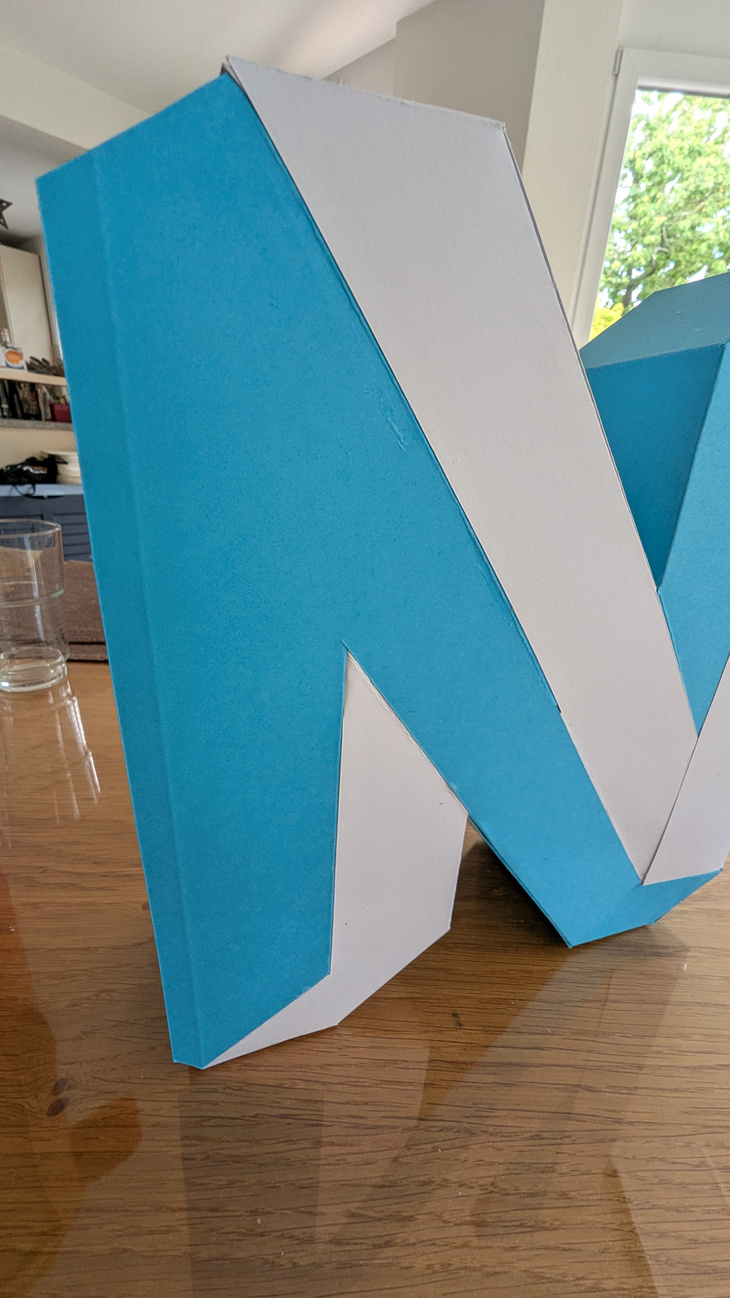
16. B2 to A4 with 35
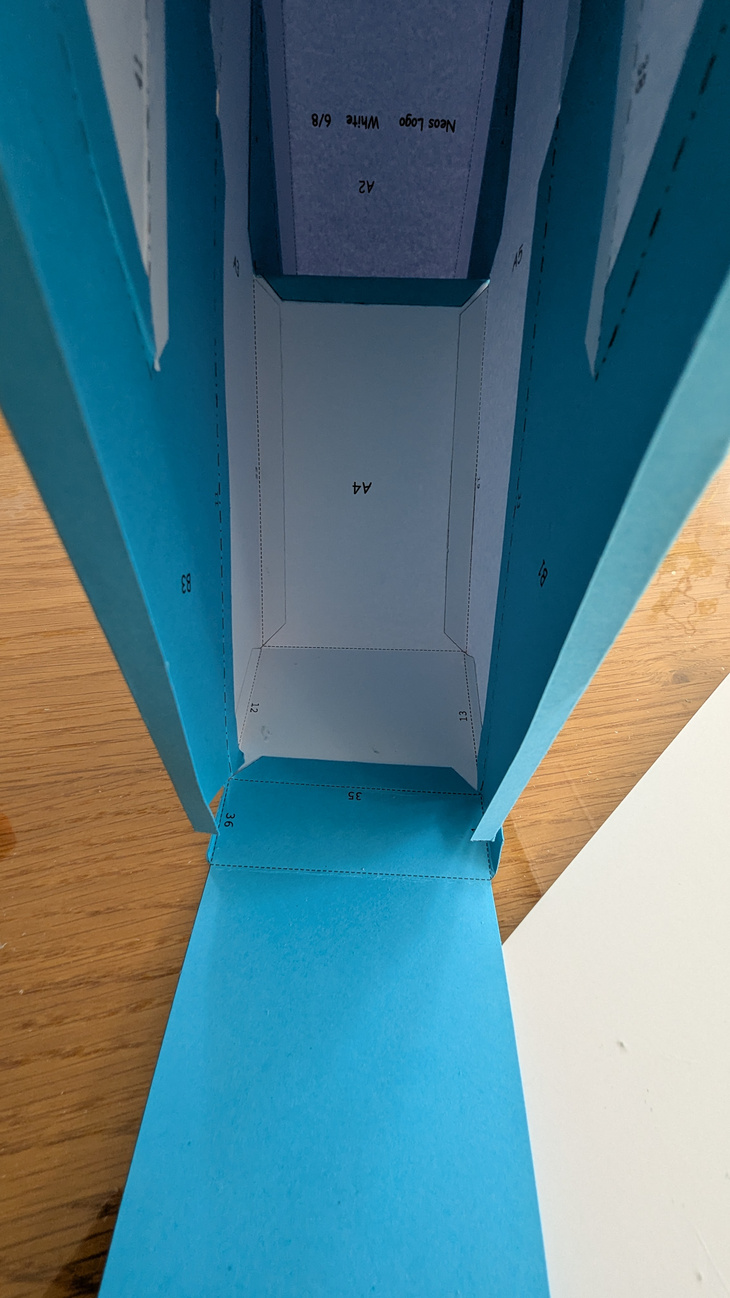
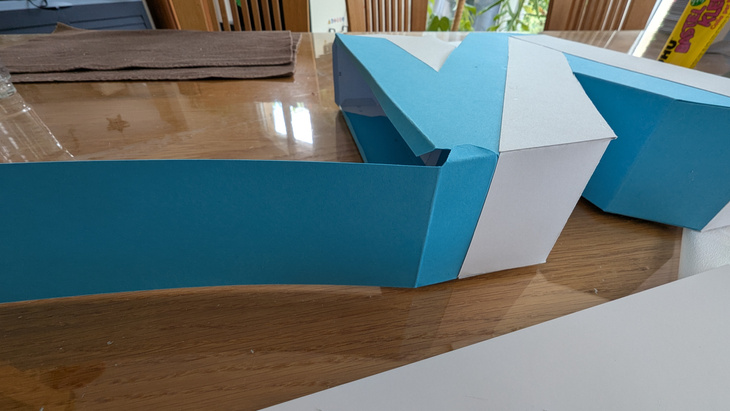
17. B2 to B1 with 34, B2 to B3 with 36, 9
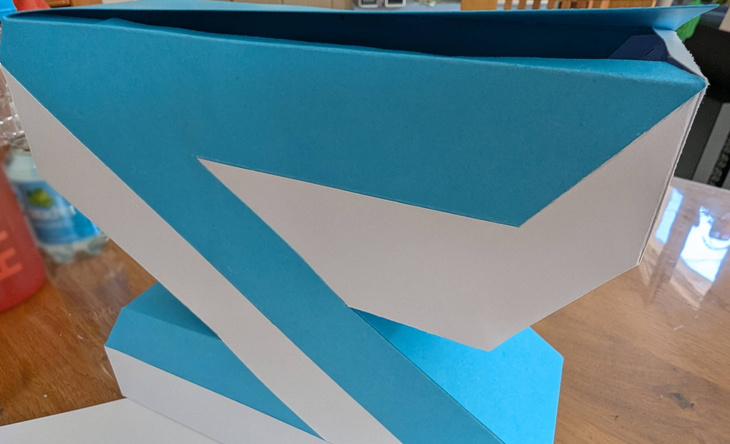
18. B2 to B1 with 32 put glue from one end to the other every 5cm, let it dry each 5cm and continue See here
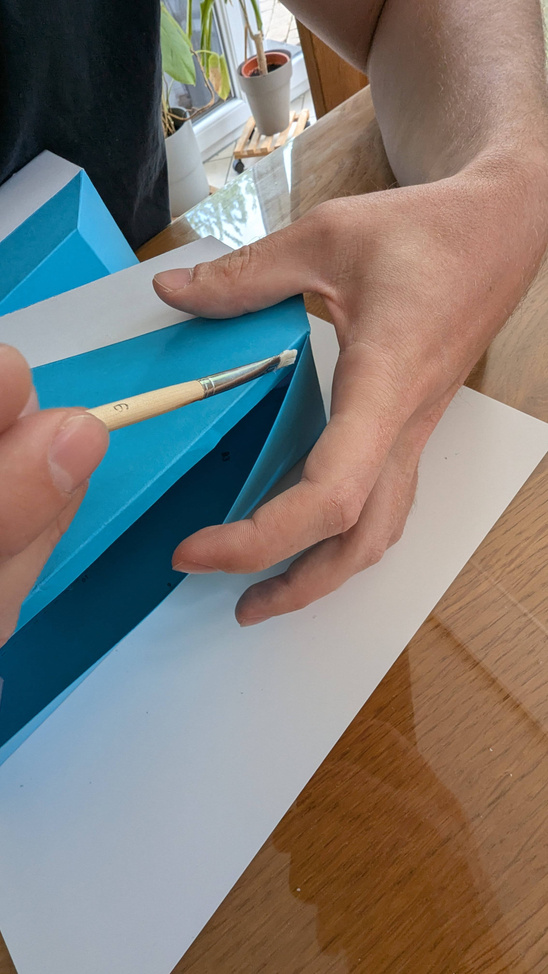
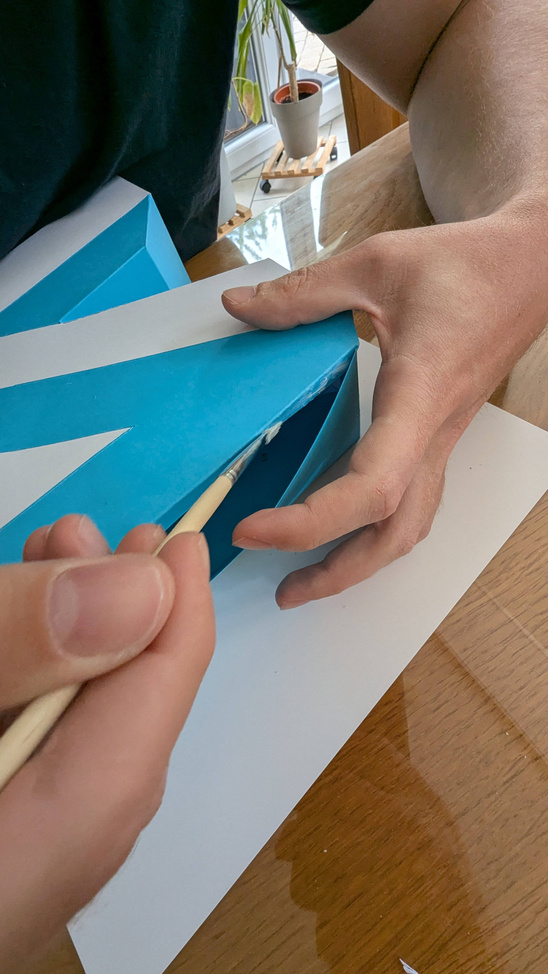
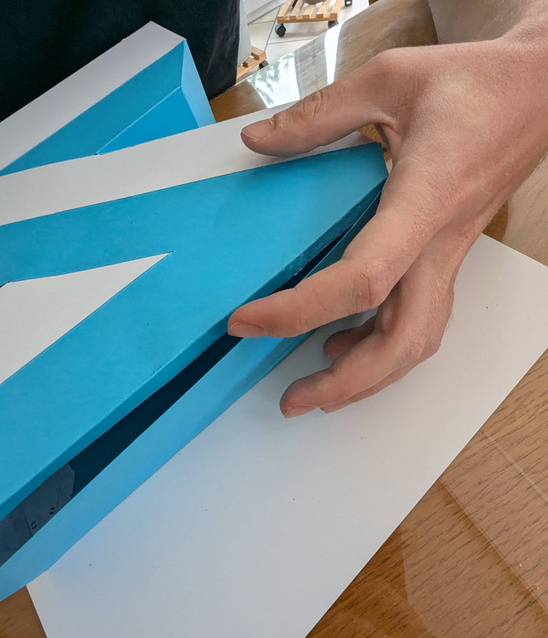
19. Finally: Glue 46 inside the NEOS Logo as shown
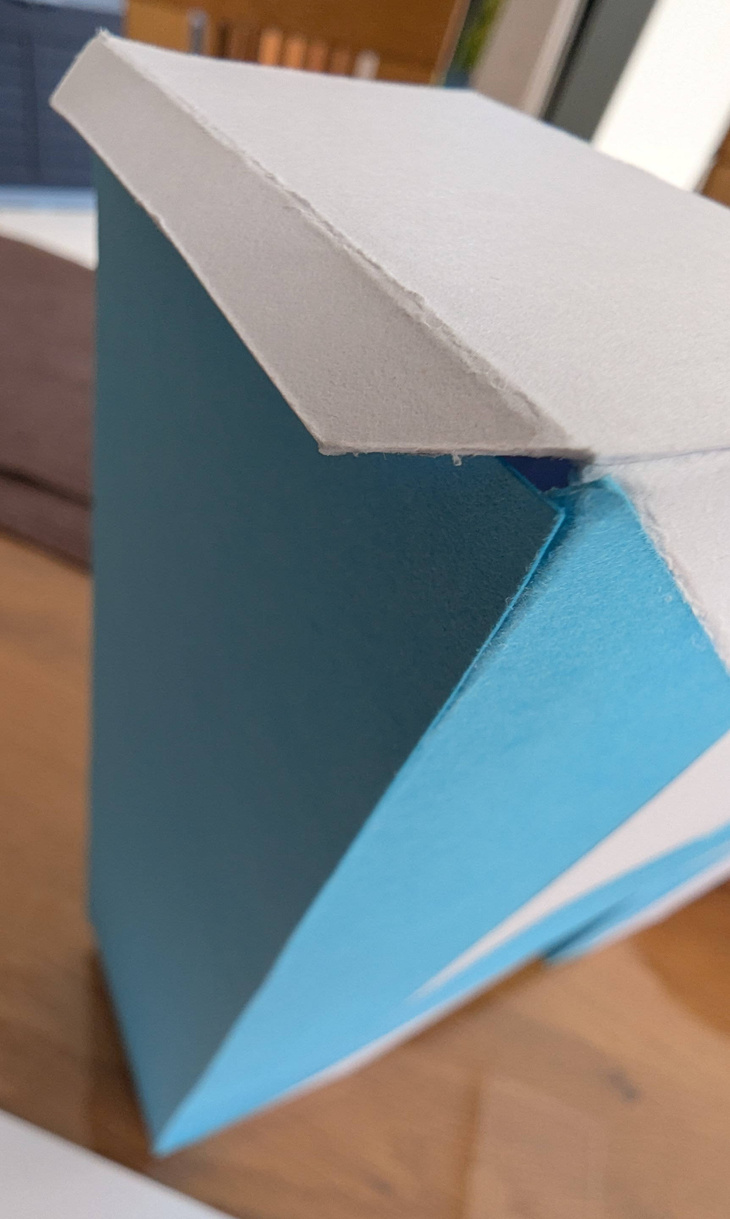
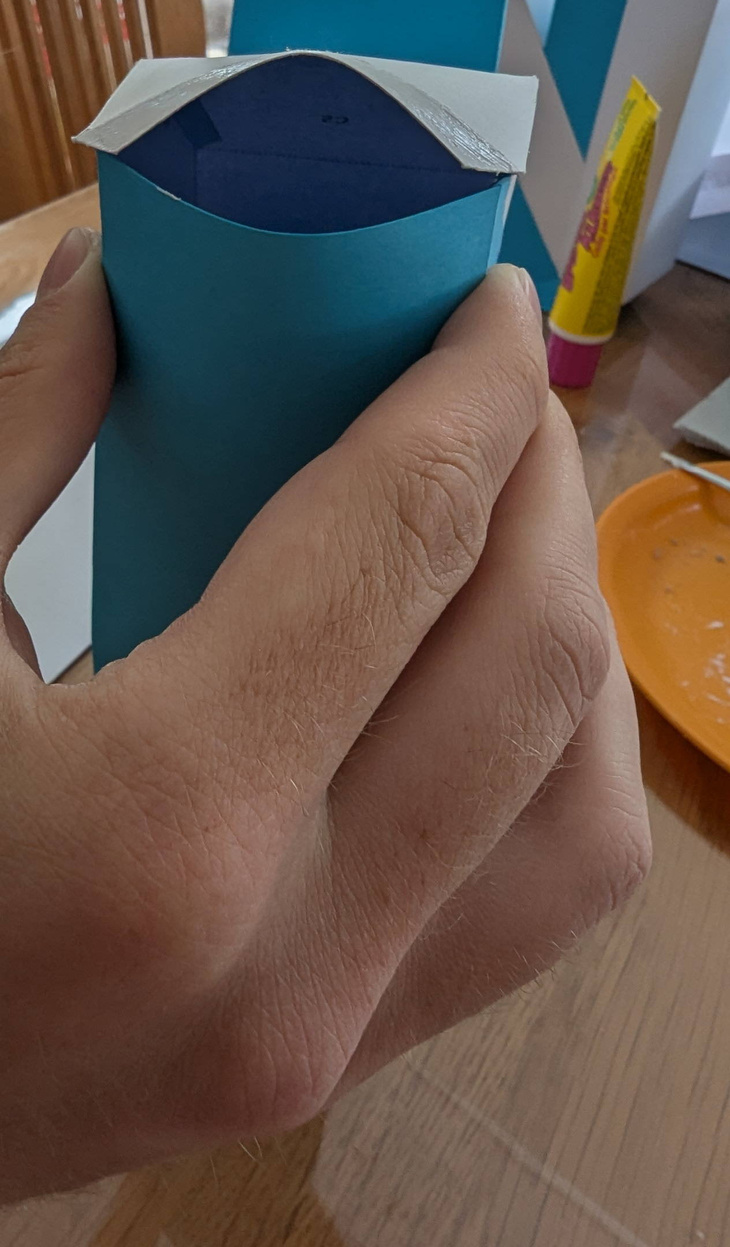
Here is the final result:
